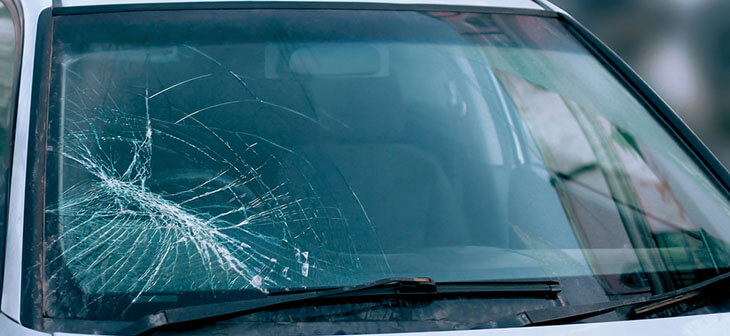
A chip on the windshield is enough to put a chip on one’s shoulder. This can sometimes happen when small rocks from the ground fly into your car after being driven upon by a car in front of your own. Once this happens, the windshield should be repaired immediately, so as to prevent the chip from spreading into a crack that can make it difficult to navigate. Thankfully, that deal with auto glass can take care of these chips. Below, you will find the steps that comprise the process of getting a windshield repaired after gaining a chip or a crack.
Chip Analysis
When analyzing the damage, you need to know the measurements in order to determine whether repairs are possible. The three types of damage are crack, bullseye, and pit. In the case of a crack, it would have to be less than a foot long to be repairable. If the chip is a bullseye, it can only be repaired if the diameter is less than an inch. A pit, which would leave a chunk of glass absent from the whole, can only be repaired if it has not gone through the plastic interlay. If repairs are impossible, it is time to replace.
Cleaning
Once you have gotten a good rundown of the damage and know what you are dealing with, it is time to clean the crevice. Of course, this is not something that you yourself would be required to do. A skilled technician at the auto shop would be able to get rid of any dirt, debris, and moisture, thus making sure that the end result of the cleaning is satisfactory. They would also take out any small pieces of loose glass that could get stuck in the crevices. They would do a very thorough job, covering all of your bases.
Crack Repair Tool
After the cleaning process, the crevice is ready to be fixed. Next up would be the use of a vital instrument known as the crack repair tool. This has glass suckers attached to it and contains a substance called resin. The suckers are positioned over the damaged area, and then the applicator forms a vacuum beneath the seal. This vacuum keeps air from affecting the curing of the resin. Once this tool is in motion, you are well on your way to having the damage repaired. This tool is very effective, so you can be confident that it will do the trick as the process progresses.
Resin and UV Light
After the vacuuming phase, resin enters the equation, filling the crevice. The process should not be long, though it might depend on the type of resin. A clear liquid goes into the chip or crack until it completely fills it. Once full, the resin needs to be cured by UV light, which dries the resin and bonds the crevices. You can consider using a UV curing technology which can instantly cure the resin more effectively. One must be sure that there is no uncured resin, as it could affect the outcome of the entire job in a negative way. In this process, it is important that everything be done correctly to ensure that the glass is brought back to its fullest form.
Get Cracking
The moment that you notice any windshield damage, it is time to get cracking! That is, it is time to take action, not create more cracks. While it may feel inconvenient to deal with it right away, you will be grateful that you did in the long run, before the damage could spread. Getting this done sooner would save you more money on repairs. Plus, you would not want to risk going against laws pertaining to cracked windshields. Find a reliable auto shop and get your windshield restored as soon as possible. It is better to be safe than sorry.


